
Table of Contents
SIMS Import Plugin
A tutorial video accompanies this article and can be found here.
 As with all Pergamon Plugins, the SIMS Importer exists as a separate application located in the Pergamon application directory but should NOT be executed separately. Instead, start the application from within the Pergamon managerial toolbar menu. In order to work correctly and communicate with the correct database, ensure that the [Connection] toolbar icon is GREEN.
Addendum: Current versions of SIMS Importer have been released to allow separate execution. Any selection of a toolbar icon will search for the database before use.
The SIMS Import plugin is designed to import data from a standard SIMS CSV file for the purpose of importing new data or updating existing reader records. The CSV file should contain:
- Adno (admission number)
- Surname
- Forename
- Gender
- DOB (date of birth)
- DOA (date of admission)
- Year
- Reg
A report definition file for this CSV export can be found here.
Loading Data
 The first step in using the importer is to select the [Add] toolbar icon to select an import file. On selection the file will be displayed in the left hand list.
While it is possible to select multiple files and build a stock of files for import in the list, it is recommended to import only one file at a time to reduce the chances of visually missing erroneous or problematic data. Files can be removed from the list by selecting a file followed by the [Remove] toolbar icon.
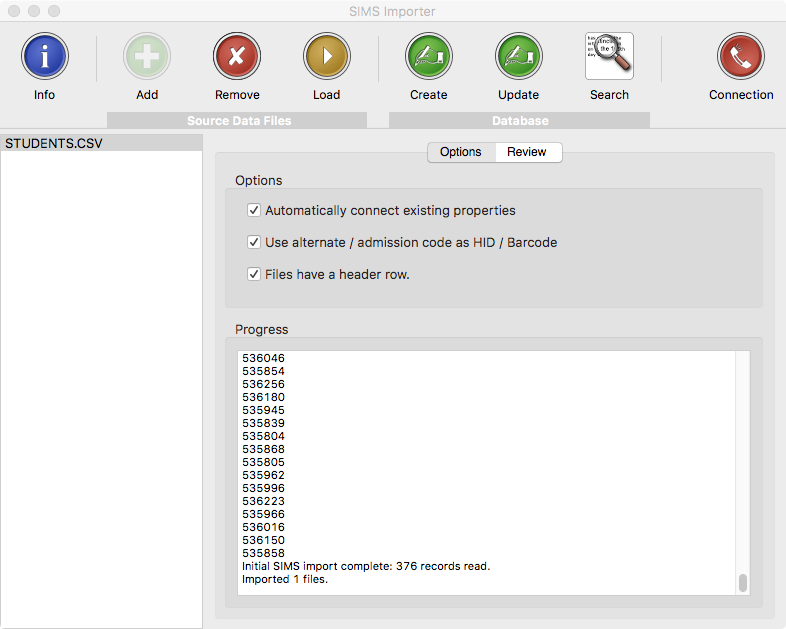
Once at least one file is in the list, select the [Load] toolbar icon to open the file(s) and load the data into the importer. At this point, the data is NOT written to the database and will not change any active reader records.
Load Options
Before loading, you may wish to alter one of the three options available:
- Automatically Connect Existing Properties - This option allows the importer to try and match imported records with records that already exist in the database.
- Use alternative / admission code as HID / Barcode - This option allows the import to match the imported records against existing records in the database by comparing the reader Admission Number with the library reader barcode.
- Files have a header row - Assume that the very first line in the CSV file is a header row, not data.
It is recommended that all three of these options remain ON.
Processing The Data
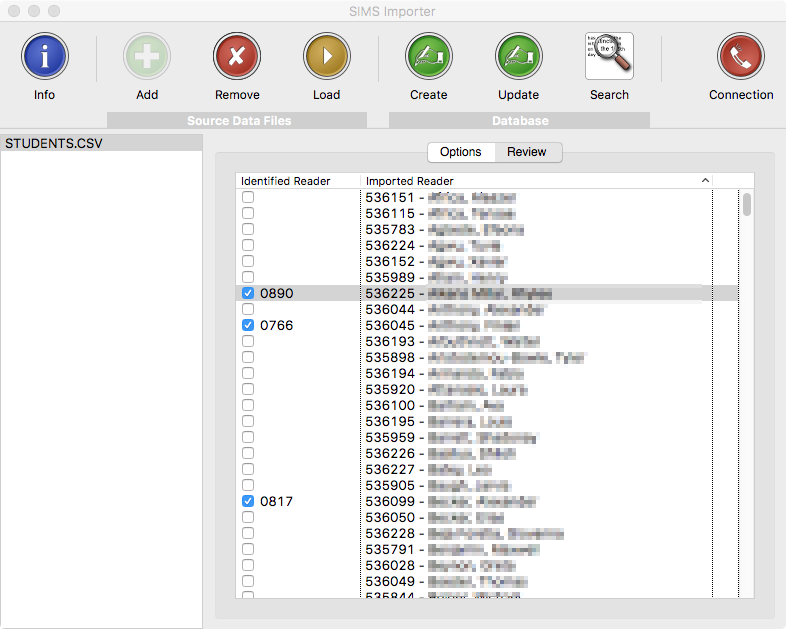 The second step in importing the data is using the [Review] tab to view the imported data. An initial match-up has taken place during the loading of the data, but you will probably need to perform further checks to catch all records. Any records which matched correctly will be checked, and the Reader Barcode number of the matched reader displayed in the left hand column of the Review list.
Use one or more of the options in the [Search] toolbar menu to perform additional checks. If you wish to clear the matches and start again, choose the last option of this menu.
Any records which are eventually checked will be considered a record update, while any that were not checked will be regarded as a new record import.
Writing The Data
Once the records have been matched as far as is possible / desired, you can write them into the live database using two processes.
Create New Records
Select the [Create] toolbar icon to write new records into the live Reader database. Use this process for importing new reader records.
Update Existing Records
Select the [Update] toolbar icon to update existing records in the live Reader database, which were identified and checked in the [Review] list. On selection, the importer will ask whether you wish to import immediately, or defer update.
- Import Immediately - The live Reader Records are modified immediately and any view of this reader records will see an immediate change as soon as the process is completed.
- Defer Update - The changes recorded in the SIMS Import file are recorded internally to the database, but are not applied to the live Reader records. You will be asked for a short description to identify this update batch.
Updating Deferred Records
 In order to update deferred record updates at a later stage, such as the movement of readers to a new year group immediately before the start of a new academic year, start the Reader Management dialog in the main Pergamon application.
Select the [Update] toolbar icon in the Deferred icon group. Unless Deferred update batches are available, this icon will remain 'ghosted'.
Select the update batch required. Any changes to data stored in this batch are updated within the live Reader database and the update batch is deleted.