Table of Contents
Importing and Updating Readers
Reader Import Process
Step 1 - Selecting files
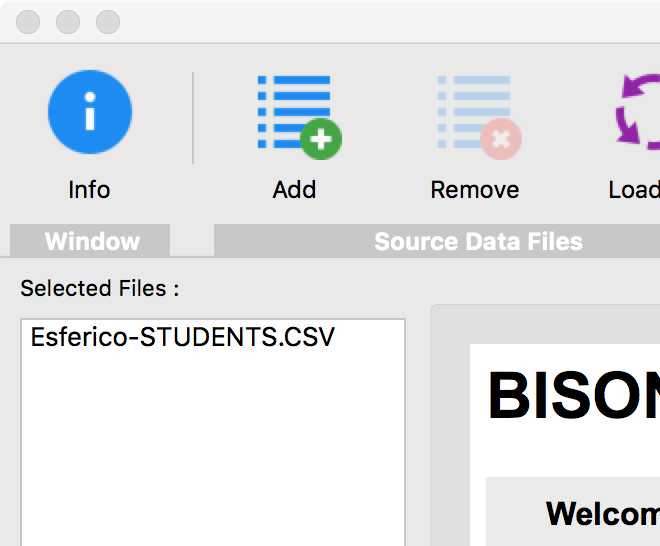 Use the [Add] toolbar button or drag-and-drop files into the file list to the left of this help file. Ensure that you ONLY add files that contain reader information.
Select the file and use the [Remove] toolbar button to remove files added in error.
Step 2 - Reviewng Options
Switch to the [Options] tab and review the settings currently in effect for importing the files.
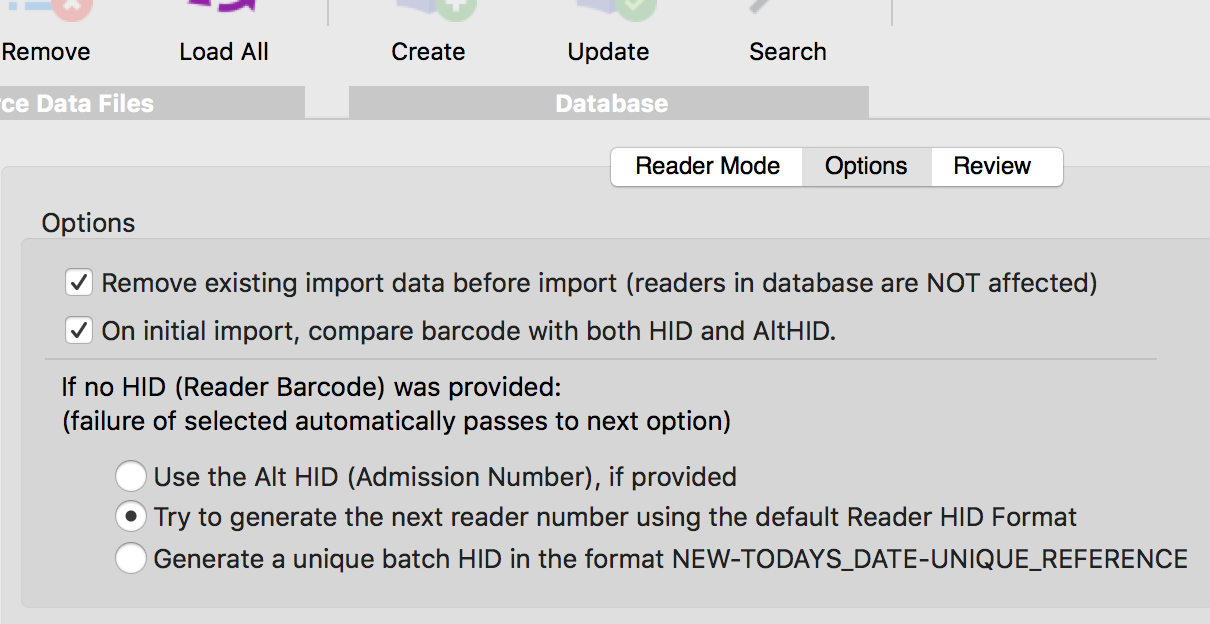
- Remove Existing Import Data - removes any data that is currently in the database import buffer. It is advised that is switched on (default).
- Compare barcode with HID and AltHID - when comparing new readers with the existing readership (on the initial import), BISON will examine both the recorded Barcode (HID) and any record of an alternate HID (such as a school admission or staff number). It is advised that is switched on (default), but you will have the option to perform several different additional searches during the import process.
- HID Barcode Generation - select the option that you would prefer to use to create NEW barcode numbers for new readers if one has not been supplied.
- Use AltHID - If an alternate barcode was provided (such as an admission or staff number), use that.
- Generate - Examines the last HID used in the database (using the default format) and generates the next number in the sequence (0001 > 0002, R0802 > R0802, A0111X > A0112X etc.) - (default)
- Generate a Batch Reference - As a last resort, generate a sequential number based upon this import date and unique, incrementing number (e.g. NEW-20180210-0001) which can be edited later, within Pergamon.
Step 3 - Loading the Data
Select the [Load All] toolbar button to start the import process (which will only be active if at least one file has been selected). Starting the [Load All] process will automatically repeat for each each file selected, individually.
The specific set of actions is based upon the import mode currently being used:
- Delimited Text Files - (.csv, .txt, .text, .tsv etc.) - any file of plain text, with fields and records delimited by special characters.
- Microsoft Excel Files - (.xlsx) - a file produced by a recent version of Microsoft Excel.
- Fixed Width Files - Files with fixed width rows and field spacing, such as those exported by older reporting systems, or scanned from printed media.
Step 4 - Writing into the database
 Once the import has taken place, the import window will close and you are returned to the main BISON window. BISON will try to perform an initial check of the imported readers to see if they match any already in the database, but this is almost certain to NOT match all of the readers - especially if the readers are new to the school.
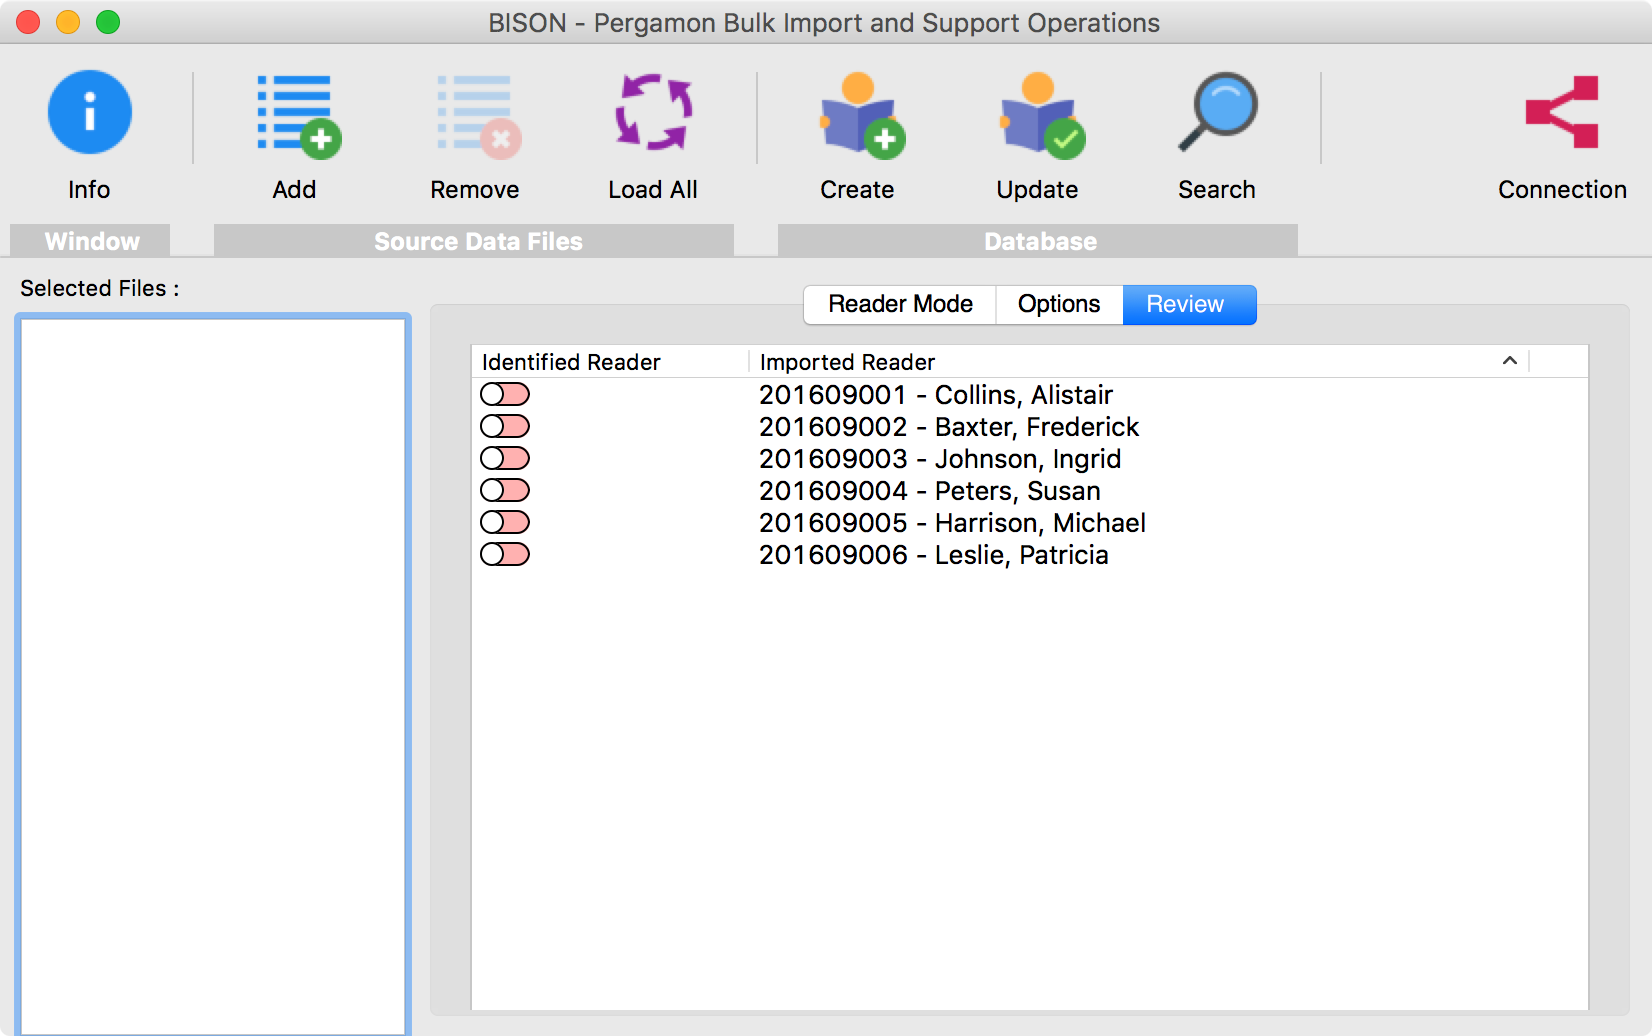
Matching Readers
 Select the [Review] tab to view all of the readers that were imported - this will show a check box (which will be red if the reader is currently not known, or green if the reader has been identified in the database), and the reader admission number (if available) and name.
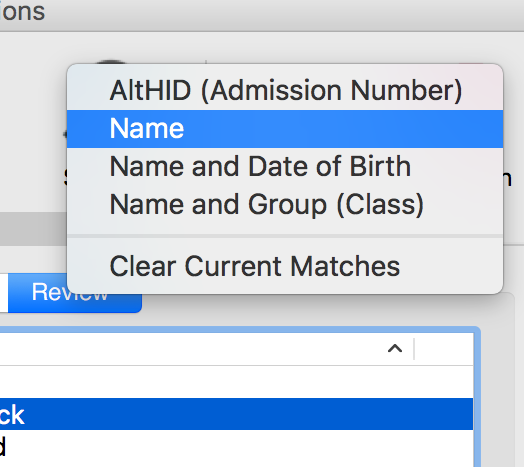
Use the various search options on the [Search] Magnifying Glass toolbar icon to make further searches to try and match the imported readers with those in the database - the more readers you identify automatically, the less work you need to do manually!
As a last resort (or sooner, if this is your preferred option), right-click a reader with the mouse and BISON will try to suggest matches based upon a number of factors that are unique to that reader, just in case there is a subtle difference in the database that has been imported, compared to the same reader information already in the database. BISON will perform these checks based upon the following features and will tell you what features have matched (so you can discount false positives):
- Admission Number - regardless of the name etc. the reader matched perfectly on Admission Number (the field that Pergamon calls 'AltHID' or 'Alternative HID').
- Barcode - regardless of the name etc. the reader matched perfectly on HID (reader barcode).
- Admission Number in Barcode field - regardless of the name etc. the reader matched perfectly on Admission Number found in the HID (barcode) field. Be careful of these matches as numbers are just numbers - the match may be totally coincidence!
- Full name - regardless of the barcode etc. the reader matched perfectly on the full name.
- Last Name - the last name of the imported reader matched that of reader(s) in the database. This match may be coincidence, a family connection or the correct reader with different other details.
- Tutor Group - the tutor group of the imported reader matched that of reader(s) in the database. This match may be coincidence, but if there are signficant differences in the spelling of other features, such as the name, these results may allow human intelligence to identify the correct reader.
If you believe that one of the readers is the correct one, select it from the context menu presented and the check will turn green, or click elsewhere to dismiss the menu. If no suggestive matches were found, no menu will be displayed at all.
Creating New Readers
Even after you have manually tried to match readers, there may still be readers that are marked with the red-check - this simply means that they were not identified in the database, and are probably valid new readers that need to be created.
To create these new readers, click the [Create] toobar icon. This will move through only the red-checked readers in the list and use the imported data to create them as new readers. Once created, their check will turn green.
Updating Existing Readers
Click the [Update] toolbar icon to update the identified readers (with the green-check) in the database with the new data that was imported from the files.
All new data will overwrite the existing data, so be careful what you import! If you previously imported data from a source then carefully edited your readership database, you may not want to import from the same source again or it might roll all of your changes back again!
If you only want certain updates (e.g. the new groups / tutor groups classes) for the new year, try turning off the import for unrequired fields when you are in the TEXT / XLS import window and only import what you need.
