
Table of Contents
BISON Simple Stock Check
What is the Simple Stock Check Utility?
The Simple Stock Check Utility is a means by which you can stock-check your catalogue, and it is greatly integrated within the new Pergamon packages system.
The Simple Stock Check Utility however, is not designed to be the be-all and end-all of stock-checking (hence the name 'simple') - though it is extremely powerful in itself, a far more capable and comprehensive system duplicates this and adds more features in Pergamon v1.3.
Create a Stock Package
The first step in performing a stock-check within BISON is to create a package using the [Package Manager]. This system allows you to creatively control what you are stock-checking, when, and in what size chunks - you do not need to undergo a full, non-stop stock-check if you do not want to.
If you have not done so, go to the package manager and create a new package, naming it something appropriate to your intentions - remember that you can stock-check the whole library, or a sub-set based upon location, item type etc. so reflect this in your description. Do not however, add the date - BISON keeps track of this for you as part of the package manager system. Once you have created a package, use the package manager tools to add items to the package. Once added, these will represent the 'unchecked' stock and could represent your entire database (use the wildcard '%' in the HID field to bring back all of your items), or a sub-set based upon what search criteria you use.
The Stock Check Layout
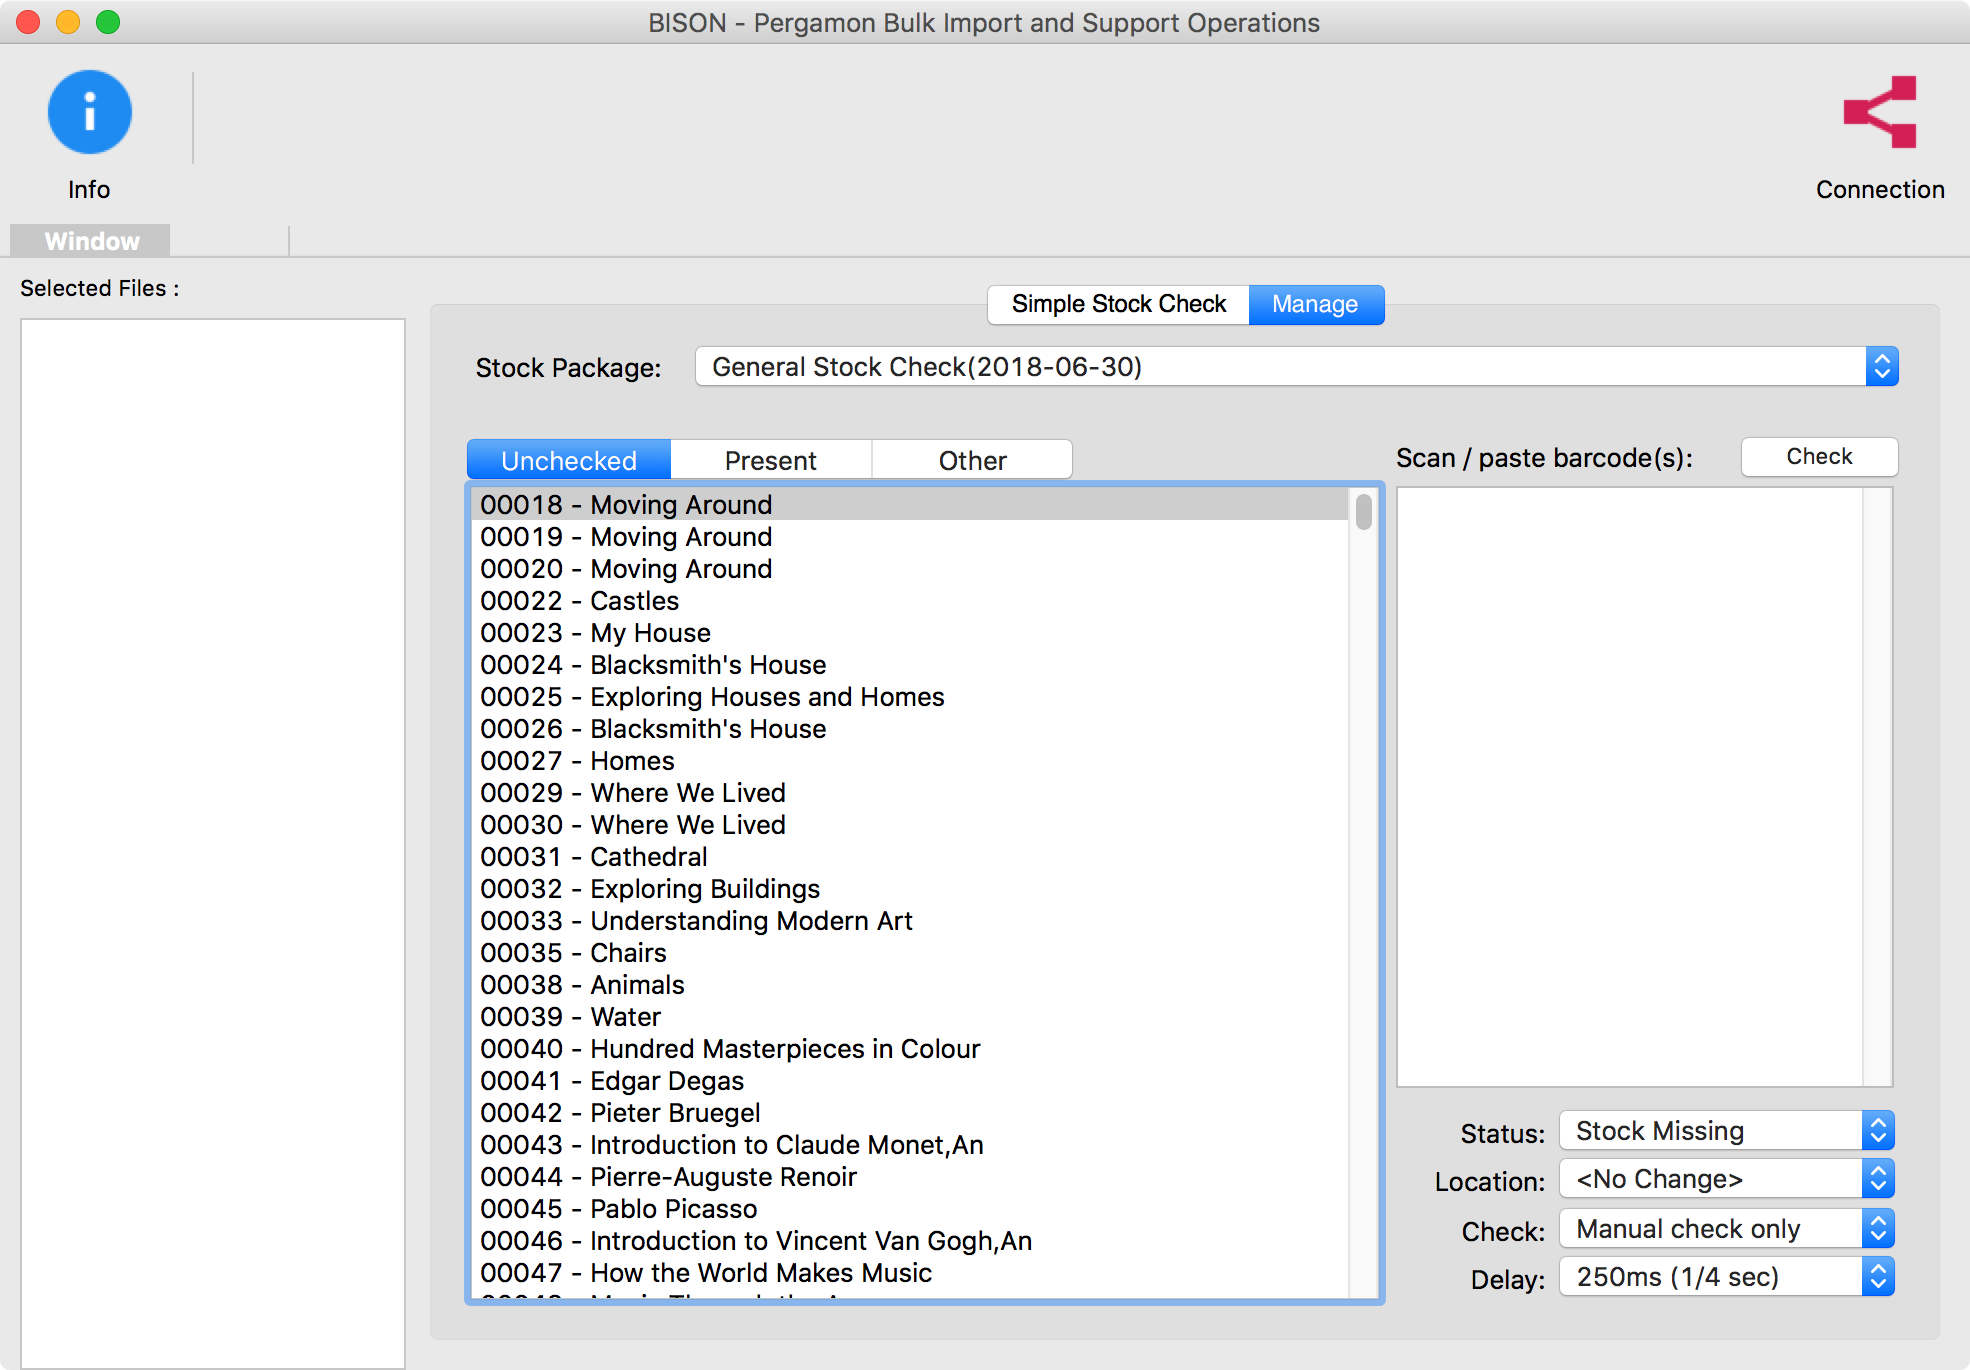 The stock-check layout (see the [Manage] tab) can be viewed as being in four main sections:
Stock packages
The stock packages drop-down at the very top of the layout allows you to select which of your stock checking projects that you want to work on. This list is taken from all of the 'active' stock-check packages that you created through the Package Manager. While you will close stock checking packages once completed, the full toolset in Pergamon allows you to interrogate them further, even when no longer accessible from here.
Catalogue Items
The list on the left hand side of the layout displays the items that are in the package. Dependant upon which mode the list is in (selected by choosing one of the three buttons above the list), the list will show all of the Unchecked items (all of them a the start of the stock-check), Present items that have been successfully stock-checked, and Other which shows all of the items that have had a special status assigned to them during the stock-check.
Check List
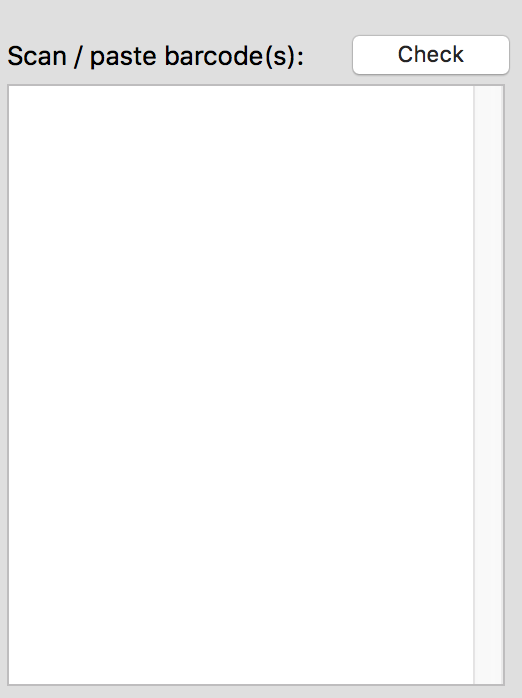 The 'list' on the right hand side of the layout (with the [Check] button above it) is actually a text field where you will type or more likely scan all of the items that you are stock-checking. You can enter one, or any number of items in this text field as long as they are one HID (barcode) to a line (your scanner will scan them like this in anycase).
Options
The four drop-down menus at the bottom of the layout represent optional settings that will influence how your stock check is undertaken. See below for more details.
Stock Checking
To perform a stock check, select the stock-check package that you want to work on from the drop-down at the top of the layout.
Ensure that any options you want to be in effect are set correctly at the bottom of the layout. These options are:
Status
 This is the type of status message that will be written into the database for each item in your list when a [Check] takes place. Remember that this status, like all of the options here, can be changed between each batch of HID's scanned into the list. Preferably, this should be set at Stock Present, or else it means you have lost some books!
Location
Most of the time, you will probably leave this set to <No Change>. If you are stock-checking a sub-set of your library based upon location (for example, a particular set of swivel-cabinets in a class-room), set this field to the specific location. If new books have been added to this location, the Check operation will not only record the selected status, but also set the Items new location correctly.
Check
The check drop-down menu allows you to tell BISON when you want it to perform a check operation. Manual Check Only allows you to have full control - scan one or as many items as required into the list, then press the [Check] button to record the details in the database; Auto-check single scans only allows you to start automating the process - each time you can a single barcode, BISON will automatically record the details and clear the list for a new item; Auto-check all scane allows you to automate checking for any scans or pastes into the text area, regardless of number.
Delay
Governs how long BISON should wait after the text box has changed before determining whether a check should take place. Most scanners and cut-and-paste operations will complete the process instantly and so the shortest (250ms) is suitable. Some wireless scanners set into 'storage' mode, to send their data all in one block, make take longer - in this case, select a longer delay time.
Once a manual or automated check is started, BISON moves through each of the individual HID (barcodes) in the list and records a stock-check entry for each. Once completed, the list is cleared ready for the next scans and the item list (on the left hand side) is reloaded to reflect any changes.
All recording of changes is 'atomic' (i.e. immediate) and so you can leave and return to BISON at any time to continue an interrupted stock-check, and will be immediately visible to user of the main Pergamon package.
Tip: in case of accidents (e.g. power outage etc.) we recommend scanning at most a single column / shelf / pile of books before triggering a check - do not scan an entire section or room, or you may have wasted work.
If you wish to scan an entire area, or an area remote from the main workstations, consider a wireless scanner with built-in storage capabilities, then transmit your data in one block to BISON.